Hello everyone! I hope that you’re all having a lovely holiday season with your loved ones. As we approach the end of the year, we want to look our best for the New Years festivities! This includes having fabulous eyebrows! If you’re thinking that you often ignore your eyebrows like I do, you are not alone. I’ve been searching for a product that can make my eyebrows look like a Billion Dollars in a short amount of time, and I finally found it! Billion Dollar Brows is the solution to my eyebrow drama.
I received the following two products to review: 60 Seconds to Beautiful Brows and the Best Sellers Kit.

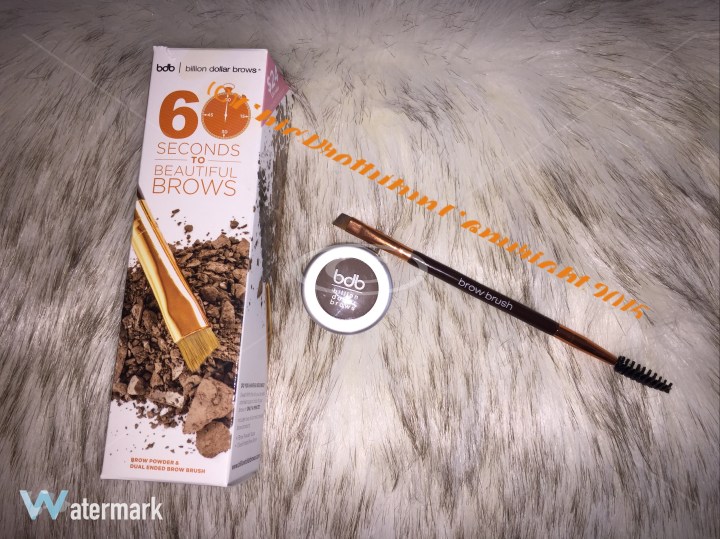
The 60 Seconds to Beautiful Brows (shown in the picture below) is my favorite because it literally takes 60 seconds and the result is amazing! My brows, which can sometimes look a little sparse, immediately look fuller and more defined. The kit contains a taupe brow powder (their most popular shade) and a dual ended brow brush. With the brow brush you can create a soft line that defines your brows. Then you blend with the spoolie end of the brush.
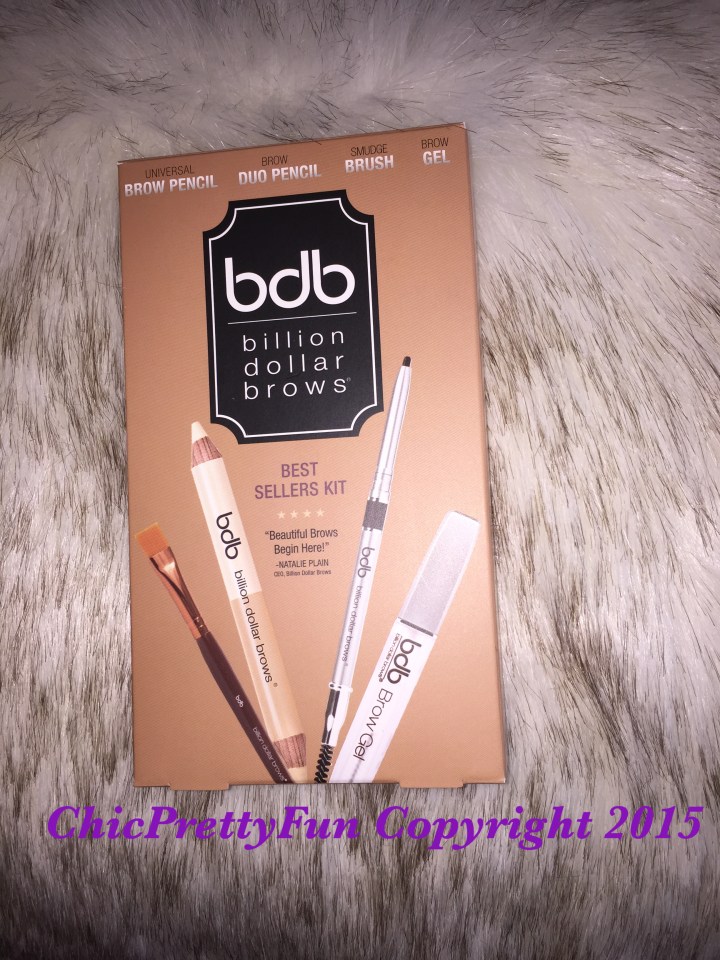
The second kit is called the Best Sellers Kit. As the name suggests, it is an assortment of the most popular BDB products. The Kit contains the following: a universal brow pencil (complete with spoolie brush), a brow duo pencil (concealer/highlighter), a smudge brush and brow gel. The kit is made for all hair colors and skin tones.

I really like the Best Sellers Kit. As someone who is still mastering the art of eyebrows, it was pretty easy to use and I was impressed with the result. However it does take a few more steps compared to the 60 Seconds Kit. If you’re just doing a quick 5 minute makeup look, you might prefer the 60 Seconds kit. Having said that, the steps are pretty easy to follow and it does not take as long as you would think considering the result. See below for a more detailed explanation.
Step 1: I applied the Universal Brow pencil. I loved this pencil! It went on very smoothly and the color was a perfect match for me. I then blended the pencil with the Smudge Brush.
Step 2: I applied the Highlighter to my brow bone and I use the Concealer to cover blemishes (also great for on-the-go touchups!).
Step 3: I applied the Brow Gel. The Gel kept the brows in place and gave them a nice glow, however it took a few minutes for it to dry completely.
In conclusion, I recommend both products without reserve. They are the best “do-it-yourself” brow products that I have used to date. Now my eyebrows will always look like a billion dollars!
Additional Product Information
- 60 Seconds to Beautiful Brows retails for $24
- Best Sellers Kit retails for $42
- Go to http://www.billiondollarbrows.com to shop or for more info
Powered by Brandbacker
